Once I got that first astrophotography picture, I was absolutely hooked. I wanted to go out, wanted to go to different locations, wanted to try to photograph different things, wanted to try to capture as many celestial objects as I could, etc.
I believe I went up to that same location outside Idaho Springs a few times before I decided to try somewhere else. Specifically, I decided to try Pawnee National Grasslands (“PNG”).
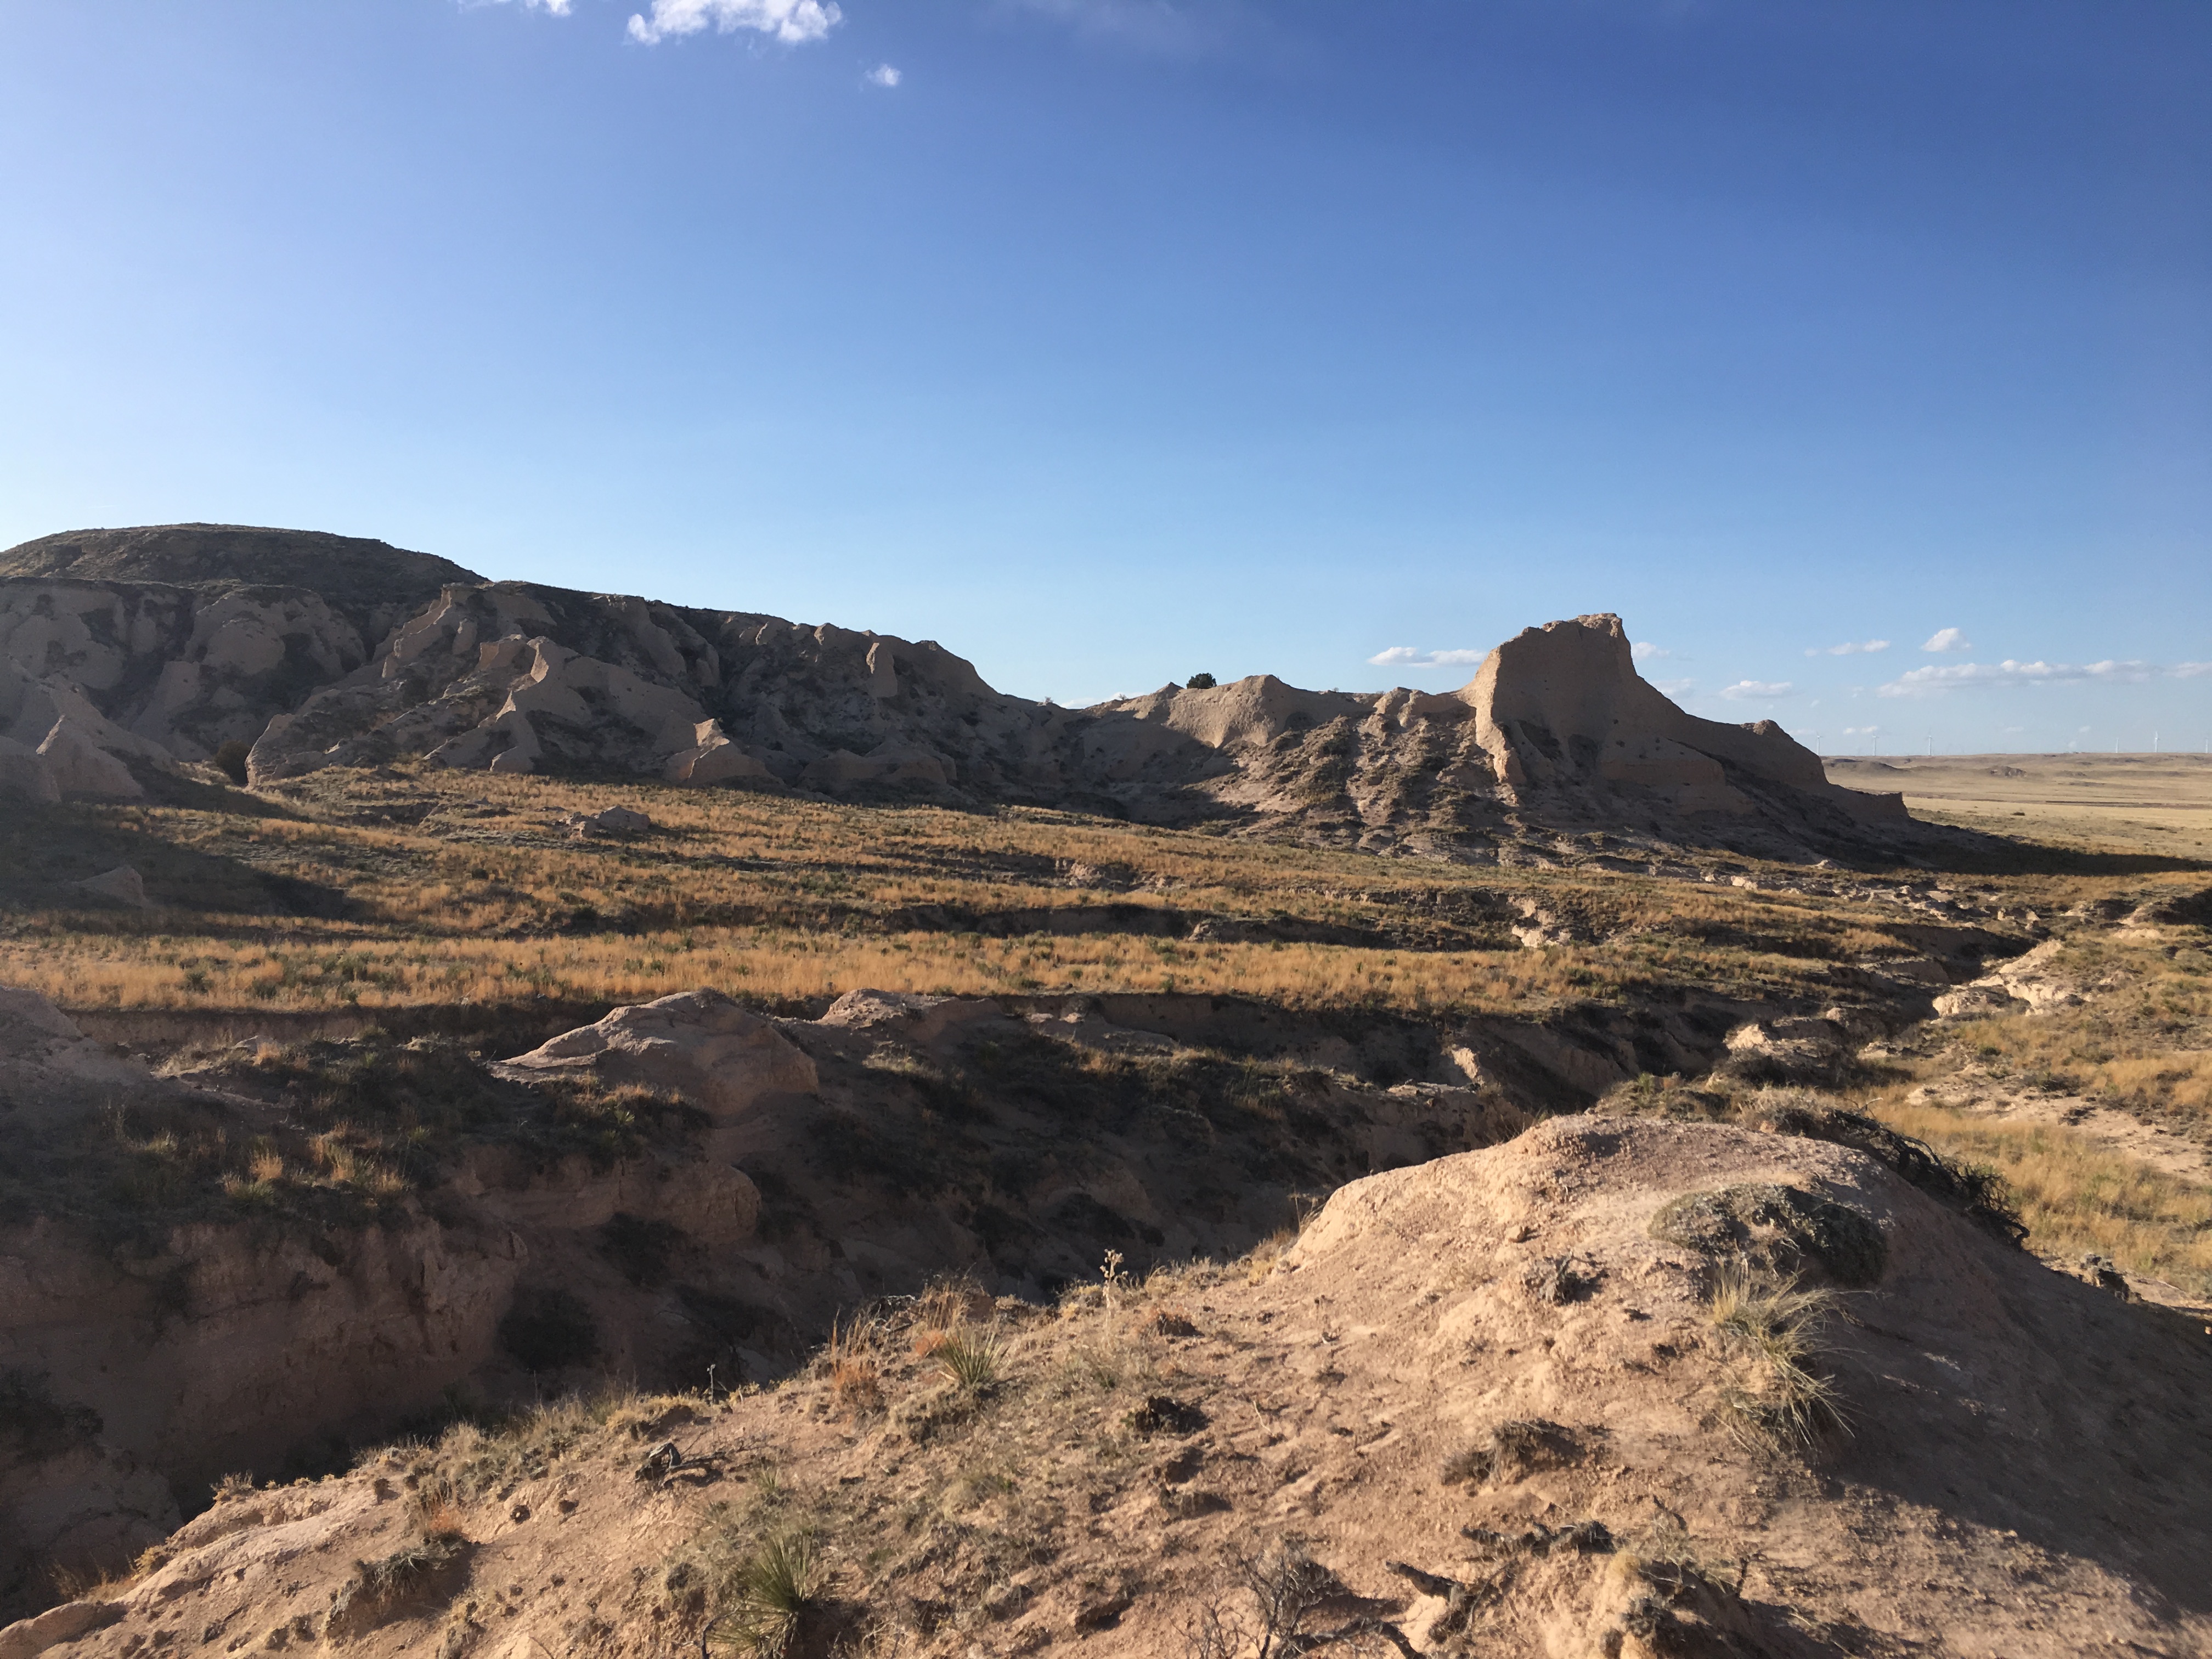
Pawnee National Grasslands is located in the northern part of the state–in a very rural area. One of the major points of interest there are the Pawnee Buttes which jut out in what is otherwise mostly plains.
One of the things that fascinates me about Colorado is the range of geography you’ll find in the state. I first visited the mountains in the west for my first serious attempt at astrophotography. My next major attempt would find me in the plains and brush to the north.
The drive out there was super interesting.
It was desolate. I was absolutely glad I wrote down directions because I am pretty sure I lost my phone signal several times while driving. While there were farms dotting the landscape, they were very spread out. As I neared PNG, it got the point where it was just me and the occasional vehicle passing by.
I wish I had taken pictures of the plains area during the drive, because it was beautiful in a rustic way.
When I arrived at the park, there was one other vehicle there that appeared to be prepping to leave the park. When they left, it was literally just me–I didn’t see a single other person there.

By the time I arrived, it was twilight and I needed to get moving because I realized after a few attempts in the mountains that it is truly is a pain to set up your gear in the dark and it’s better to do it before the sun sets.
I set up my camera just a a few hundred feet away from my car into the entrance area of the grasslands.
As it got darker, I was in for a quite a show as the stars started to show themselves. As it got darker, I turned on the red headlamp I had purchased in so I could see the buttons on my camera in the dark and also not cause too much disruption to my picture-taking.
The number of stars in the sky was indescribable. I felt like I actually got to see the sky in its true glory that night.

I took as many pictures as I was able to. I ultimately stopped because…it was still winter and thus very cold. I also heard an animal noise that I could not quite identify. While I had on layers to protect myself from the cold, I didn’t have anything to physically protect myself should I encounter anything in the wild.
Erring on the side of caution I gathered my camera equipment and headed back to my car.
I was out there for about 2 hours or so. Even though I ended my excursion early, I was satisfied with what I could capture.
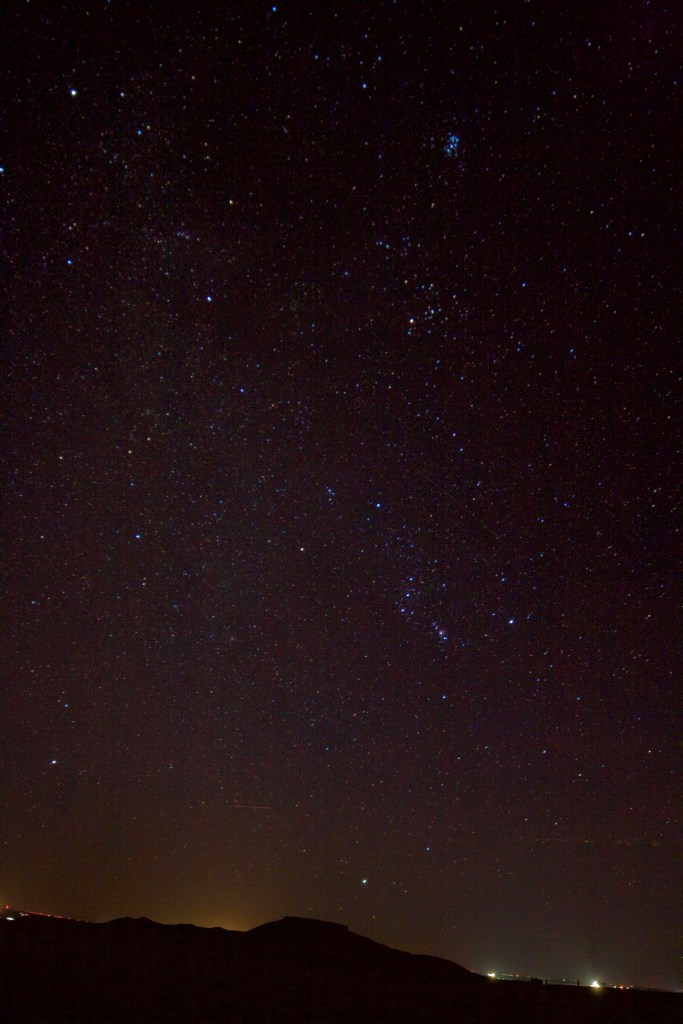
P1: Stars shining brightly in the distance. 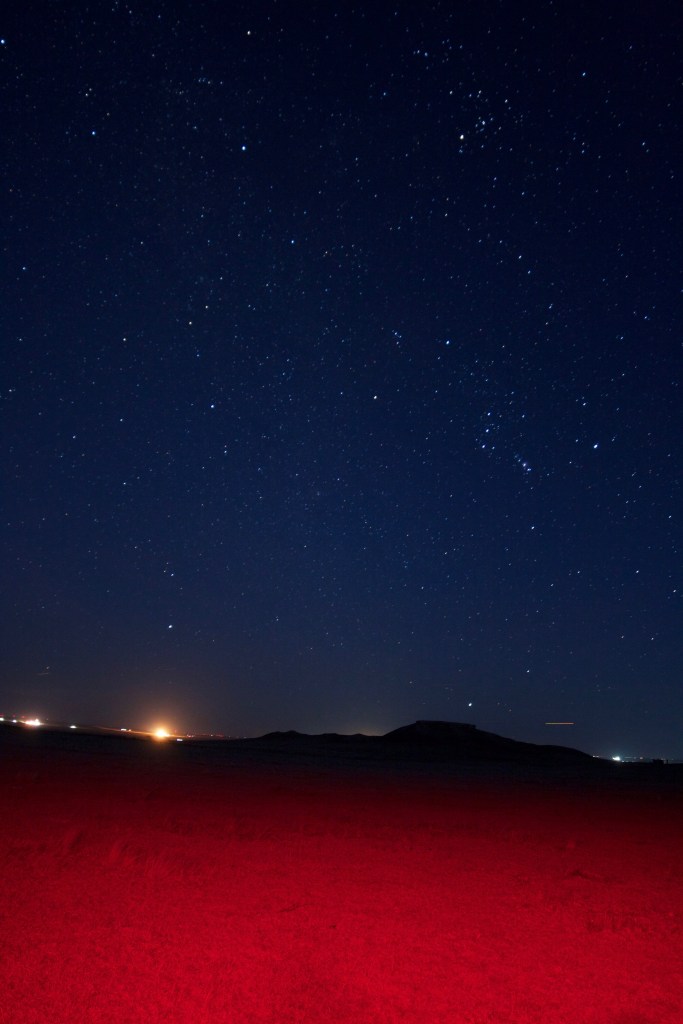
P2: Light from my red headlamp visible. 
P3: Starry hill in the distance.
Yet still, there was that feeling that what I saw with my own eyes wasn’t quite translating to what I wanted to capture with my camera. Again, I suspected my camera was pretty dated–it was over 10 years old by this point.
This excursion was the one that motivated me to purchase a more modern camera.
| Picture 1 | Picture 2 | Picture 3 |
| ISO: 800 Exposure: 25s F/0 Lens Mode: Manual Lens: 18mm-55mm | ISO: 800 Exposure: 30s F/0 Lens Mode: Manual Lens: 18mm-55mm | ISO: 1600 Exposure: 20s F/0 Lens Mode: Manual Lens: 18mm-55mm |
Astro Lessons Learned:
- Research the area that you plan to visit ahead time: Are there certain hours where the area is open? Is there a fee involved? Do you need to obtain a permit ahead of time? Is parking limited? Is parking limited to certain times out of the day?
- Write down directions for the place you are heading to, research the route ahead of time, and bring a map with you. The best places to see the brightest stars will often be in rural areas with literal dirt roads and possibly poor to no signage. Also, GPS/phone signals may be spotty in these areas.
- Arrive at least an hour before sunset so you have enough time to find a spot to set up your equipment.
- Carry multiple layers with you because the weather can turn unpredictable.
- Carry a red light headlamp or a flashlight with a red light so you have a light source. You don’t want to accidentally step on a rattlesnake in the wild. While you can go with a regular headlamp or flashlight (I did so initially), the bright white light will affect your eyes, your ability to see faint stars, and will be distracting in your photographs.
- Always let someone know your itinerary!
